Tested: the four-step salmon-curing kit

Cured meat and fish have long been a staple in many households, but how hard is it to make your own? We put a home-curing kit to the test to find out whether curing fish yourself is worth the effort.
Curing is a method of preserving food that includes smoking, fermenting, sugar-curing and salt-curing. It’s a technique that’s been around for centuries, with the earliest instances dating as far back as ancient Greece and Rome.
Historically it offered insurance against poor harvests and unsuccessful hunts when a lack of protein could be a serious health hazard. While southern Europeans used curing for meats including prosciutto and jamón, the abundance of fish in Scandinavia led to salmon gravlax and salt cod.
Today, while curing remains a much-celebrated craft on the continent, British cures and charcuterie have long played second fiddle to artisan imports. Only in the last decade have techniques been revived and home-curing become more popular.
Ross & Ross
The science behind curing is simple. As soon as salt is added to raw protein, it starts to draw water out of microbial cells thus decreasing the population of spoilage-causing bacteria. Sugar is added to the cure to feed beneficial bacteria that generate an acidic environment, killing off the ‘bad’ bacteria. For curing to work, the salt concentration has to be at least 20%, otherwise it’s not enough to kill most species of unwanted bacteria.
Smoking, on the other hand, adds flavour but doesn’t actually preserve the meat so it’s usually combined with salt-curing or drying, while fermenting uses microorganisms to preserve the food.
What did we try?
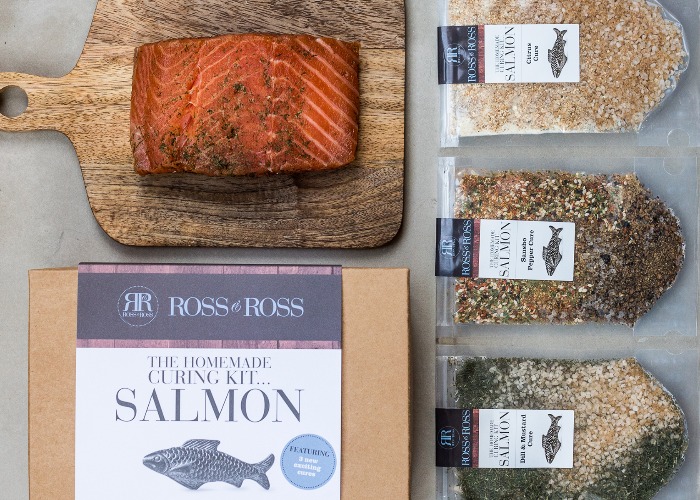
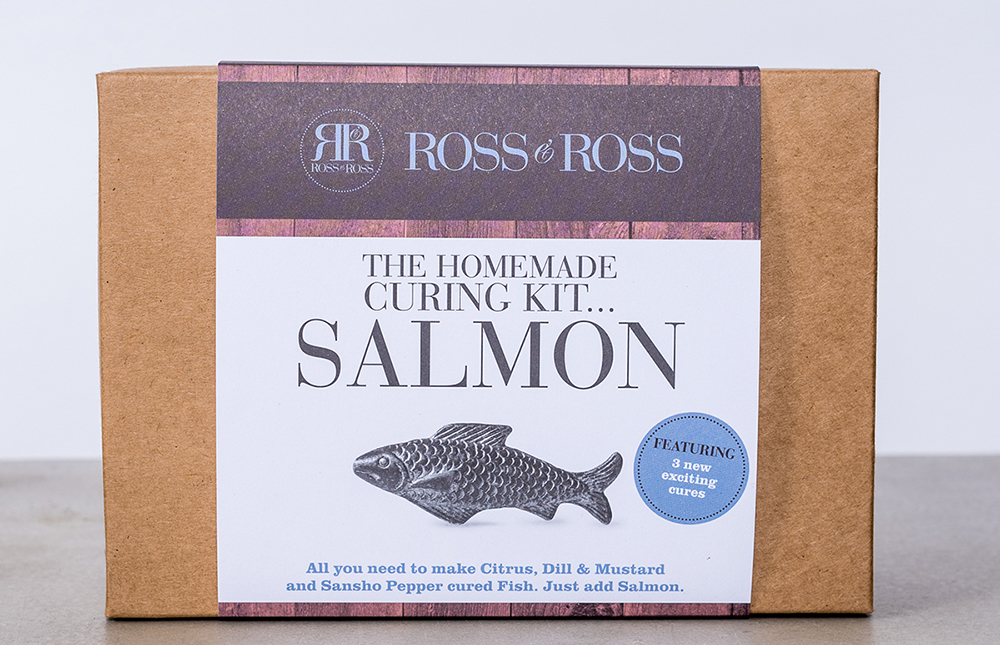
We picked The New Homemade Curing Kit… Salmon from Cotswold-based fine food providers Ross & Ross. It comes with plastic gloves, sealable bags, instructions and three different curing mixes – dill and mustard, citrus and sansho pepper. We opted for dill and mustard.
You’ll also need cling film and kitchen roll, a drizzle of olive oil, a really sharp knife and, most importantly, 600g (1lb) of high-quality salmon fillet for each cure.
Step 1: Prepare the salmon
It’s best to pay a fishmonger a visit to get the perfect fillet for curing as they’ll be able to cut you the right piece. You want a fillet that’s about 3.8cm (1.5in) thick, and an equal thickness all the way through, with the skin on. At home, cut this into two equal pieces so you can stack them on top of one another ensuing an even cure.
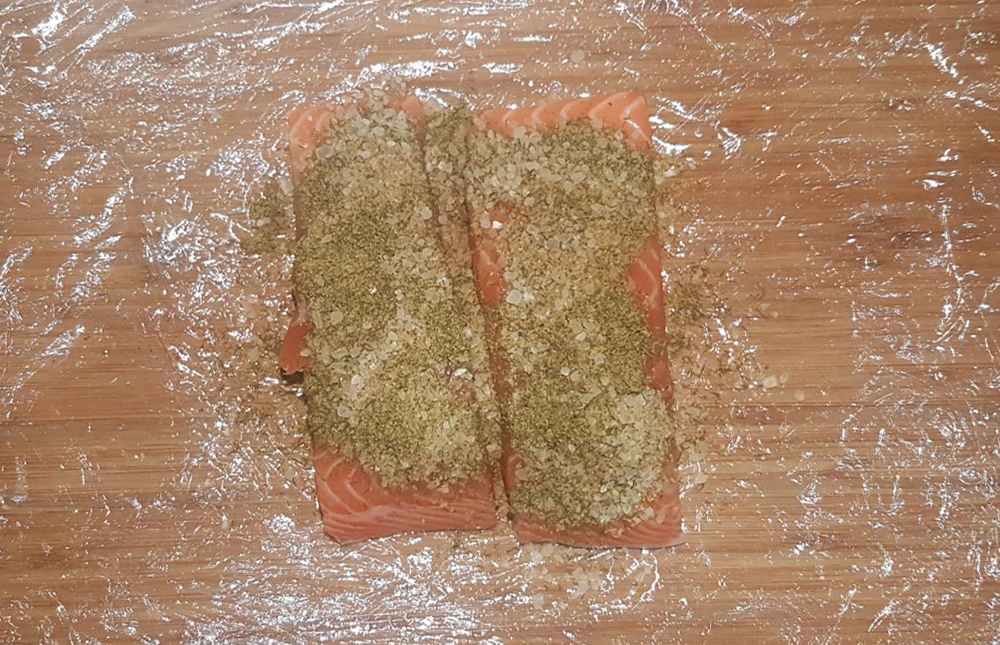
First, lay two pieces of cling film on top of each other and sprinkle a bit of the curing mix on top. For this step it is essential to use one of the plastic gloves provided, as the curing salt can cause skin irritation.
Press both fillets onto to the salt skin down and pour the rest of the mix on the flesh side before giving the fillets a good rub, making sure you cover the sides. Then place one fillet on top of the other and rub any loose salt onto the skin and the sides.
Karlina Valeiko
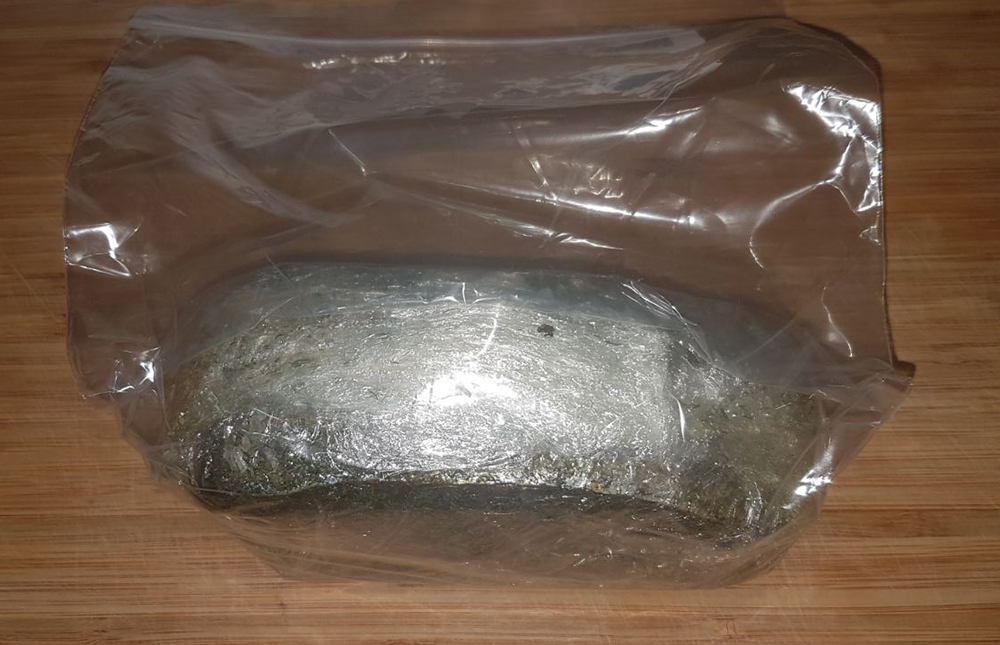
Wrap the salmon sandwich tightly and put it in the sealable curing bag provided. Place the bag on a dish, weigh it down with something heavy to ensure that the salmon cures all the way through and leave on the bottom shelf of the fridge for 24 hours. If your fridge is on the smaller side, you might struggle for space so be mindful of that before you start.
Other than that it’s a really simple, straightforward process that can be done in less than ten minutes if you lay out everything you’ll need before you start.
Step 2: Don’t touch it
After the first 24 hours you only have to turn the parcel over and put the weight back on top. However great the temptation is to open the bag and have a look, don’t do it! The less you disturb the curing process, the better the end result. Leave it in the fridge for another 24 hours.
Karlina Valeiko
Step 3: Let it rest
For this step you’ll have to wear a glove again. Take the salmon out of the bag and unwrap it. Top tip – do it over a sink to avoid curing mix spilling all over your kitchen counter. Thoroughly wash the salt off the fillets with cold water and pat dry with kitchen roll.
Rub the fillets with a little olive oil, return to the dish, cover with cling film and let them rest in the fridge for another 24 hours. Again, you might be tempted to try a little bit but be patient, it really does need time to relax.
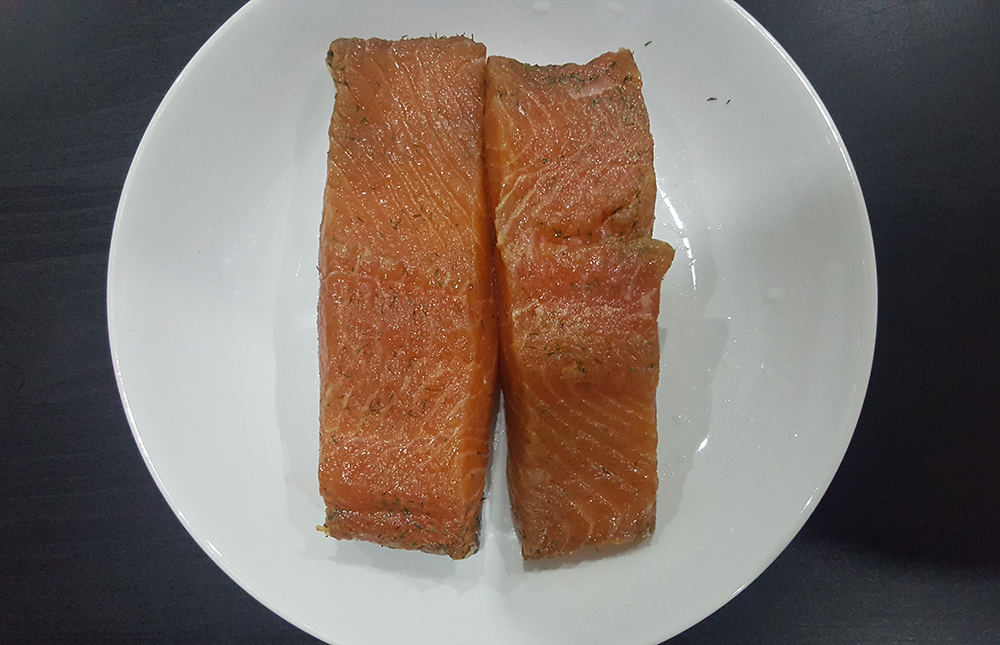
Step 4: Eat
To carve, use a sharp knife to cut paper-thin angled slices. If you have any spare, you can wrap the rest up and it will keep in the fridge for up to a week.
You can use your cured salmon in a wide range of recipes, including this easy omelette or even a beetroot, asparagus and salmon salad.
Karlina Valeiko
The verdict
The kit is an excellent starting point if you haven’t cured meat or fish before. Curing is a precise technique that requires an accurate protein-to-salt ratio. Too little and your protein won’t cure properly and will spoil; too much and the meat or fish will not only be unpleasantly salty but also extremely dry. Ready-made curing mixes take away the stress of these calculations, especially if you want to add other flavourings.
Visually, our salmon was beautifully shiny and silky and could’ve easily been a product bought from a high-end store. The flavour was mild and didn’t overpower the natural richness of salmon, yet we could still taste the dill.
The end result was definitely something to be proud of, and it didn't take too much effort. Needless to say, we’re a bit hooked on curing now.
You might also like:
Is fermenting as easy as it sounds?
We tried the baking box that delivers cake ingredients to your door
Comments
Do you want to comment on this article? You need to be signed in for this feature